How to Make Good Compost Manure

By Ify Mgbemena
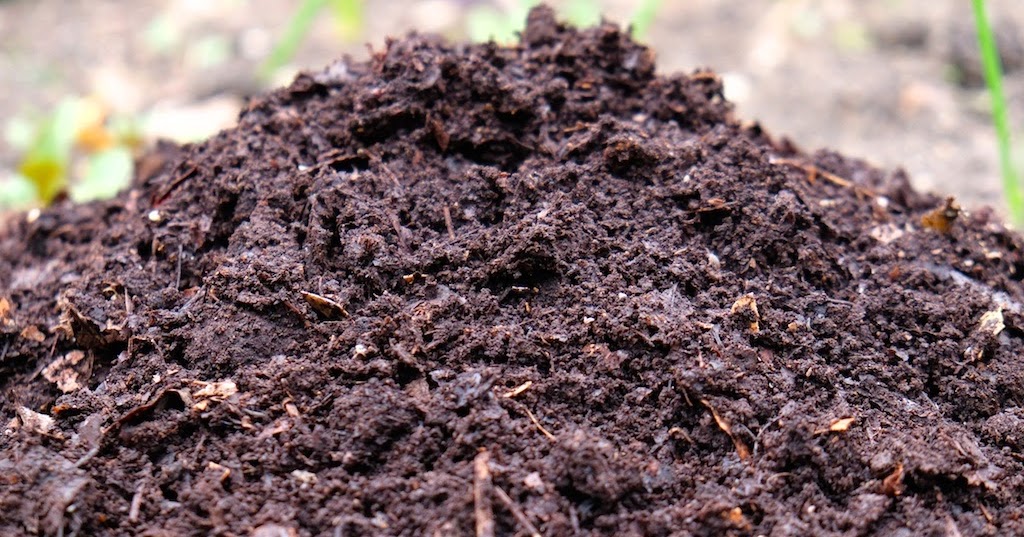
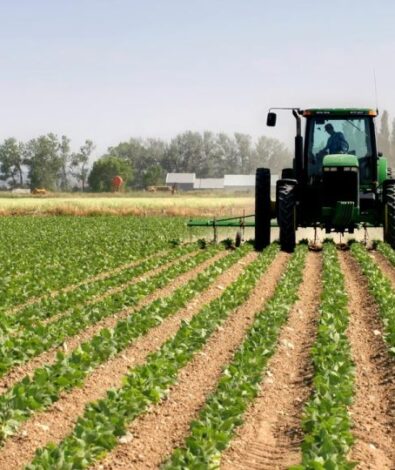
Compost manure is an excellent form of organic fertiliser that significantly enhances soil fertility and crop growth. It is 100% more effective and longer-lasting than chemical fertilisers. Compost manure is rich in nutrients and eliminates the need for additional fertilisation until the crop is ready for harvest.
Benefits of Compost Manure
– *Nutrient-Rich:* Provides essential macro and micronutrients to the soil.
– *Sustainable:* More sustainable than inorganic fertilisers which offer limited nutrients.
– *Improves Soil Structure:* Adds humus to the soil, enhancing moisture retention and reducing erosion.
– *Reduces Waste:* Utilises organic waste materials effectively.
MATERIALS NEEDED
– Dry grass
– Chopped fresh grass
– Cow or goat dung
– Shovel
– Watering can
– Garden fork
– Head pan
– Water
– Open space
– Wheelbarrow
– Pegs & twines
– Tarpaulin
– Kitchen waste
– Rotten fruits
– Wood ash
– Twigs
– Dry corn stalks
– Rotten grass
– Poultry manure
– Urine (urea can be used as a substitute)
Step-by-Step Procedure
•Choosing a Composting Method
– Pit Compost: Ideal for dry seasons to conserve moisture. Dig a pit 2-3 feet deep and cover it with sand.
– Heap Compost: Suitable for wet seasons. Prepare a square compost heap.
Preparing the Heap Compost
1. Select the Site:
– Choose a location sheltered from wind, rain, and direct sunlight. It should be near where the compost will be used.
2. Prepare the Land:
– Clear an area measuring 1.5m x 1.5m x 1.5m (150cm x 150cm x 150cm). Remove all grasses and non-decomposable materials.
– Mark the four corners using sticks and twine.
3. Activate Microbes:
– Use a hoe to loosen the ground, promoting microbial activity.
4. Layering Materials:
– Each material layer should be 10cm thick, except for ash, cow, or goat dung which should be 2cm thick. You lay each material on top of the other, you do not mix.
– Twigs: 10cm layer.
– Dry Corn Stalks: 10cm layer.
– Chopped Fresh Grass: 10cm layer.
– Dry Grass: 10cm layer.
– Rotten Grass: 10cm layer.
– Kitchen Waste/Rotten Fruits: 10cm layer.
– Poultry Manure: 10cm layer.
– Cow Dung or Goat Dung: 2cm layer.
– Urine: Pour evenly (no specific measurement).
– Wood Ash: 2cm layer.
– Cover with Sand: Cover the heap properly.
– *Sprinkle Water:* Ensure the heap is moist.
– *Cover with Tarpaulin:* Secure with twine.
5. Initial Mixing:
– Do not mix the materials initially. Allow them to sit for a few days or weeks before mixing.
•Monitoring and Maintenance
A. Temperature and Moisture Check:
– Every two weeks, insert a stick into the heap to check for moisture and temperature. The stick should be moist and warm if composting is progressing well.
– If dry, sprinkle water; if too hot, allow hot air to escape; if too cold, adjust the cover for sunlight exposure.
B. Turning the Compost:
– Turn the compost after three weeks, adding water if necessary.
Composting Stages
– *Mesophilic Stage:* Initial stage with moderate temperatures.
– *Thermophilic Stage:* High-temperature stage for rapid decomposition.
– *Cooling Stage:* Temperature decreases, and compost matures.
– *Maturity Stage:* Compost is ready when it has a sweet smell and uniform texture.
Final Steps
– Completion:
– The compost should be ready in 6-8 weeks. Once ready, transfer it to another area and mix thoroughly.
– The compost is now ready for use in your garden.
By following these steps, you can create high-quality compost manure that will enhance your soil’s fertility and promote healthy crop growth.


